Advancement flaps (sometimes called 'single pedicle advancement flaps') are a useful surgical technique when needing to reconstruct large skin defects. In this step-by-step video, we will explain how it should be performed in detail.
When to use an advancement flap
Single-pedicle advancement flaps should be considered in small animal surgery when:
- There is a skin deficit that cannot be closed using usual techniques
- There is plenty of healthy nearby skin with sufficient stretch to close the deficit
- There is a clean, healthy recipient bed free of debris and necrotic tissue - for traumatic wounds (those not created by surgery), you may have to treat as an open wound until the recipient bed is healthy
How to perform an advancement flap
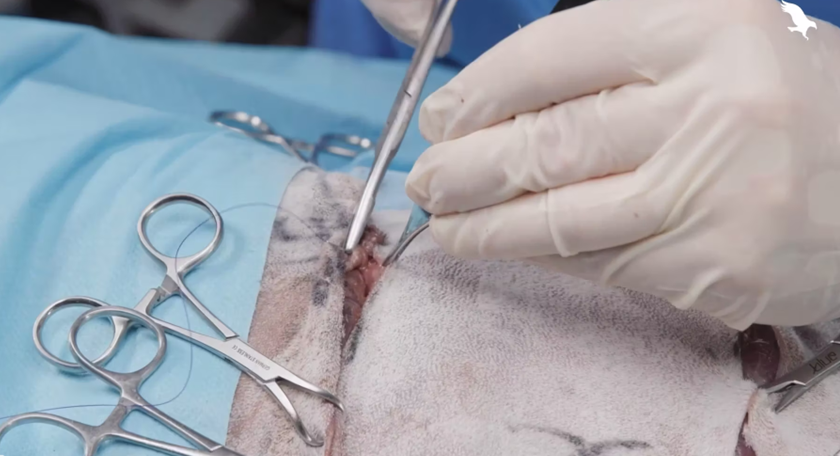
This video shows the process of creating an advancement flap in small animal surgery.
1. Preparing the patient
The patient should be under general anaesthetic, clipped, prepped, and draped. Ensure your clipped and prepped area is large enough for the surgery, or stretching the flap can bring non-sterile surfaces out from under the drape.
2. Preparing the donor site
Measure the width of your wound (X) and length of the wound (Y). With a sterile surgical marker, draw slightly diverging lines to indicate your donor site. The width of the flap at the narrowest point should be X, and the length of the flap should be at least Y - it can be made slightly longer to prevent tension during closure, but the longer the flap the less viable it's likely to be. If it needs to be more than twice the width (Y>2X), viability is unlikely and you should consider a different form of closure, such as a H-plasty, or a staged procedure.
Incise along the drawn lines, and separate the skin from the underlying tissue deep to the panniculus muscle or as close as possible to the underlying fascia to preserve the flap's blood supply.
3. Placing and fixing the flap
Use stay sutures to pull the flap into position over the wound. If there is too much tension, extend the length of the flap (Y) slightly. You can also undermine the skin around the recipient bed slightly. Once you are happy with the tension, close the flap over the wound bed, starting at the pedicle and working your way towards the end. Take care not to compromise the blood supply by using too many sutures or crushing large vessels with your sutures.
The 'dog ears' created by the flap can be left in situ (they often return to normal over time) or removed. If the choice is taken to remove them at the time, ensure that any skin taken to remove them isn't taken from the flap as this could disrupt blood flow and cause it to become non-viable.
Top tips for advancement flaps:
- The deep dermal plexus must be preserved for viability, so any subcutaneous tissue should remain with the flap.
- Do not use electrocautery instruments when cutting the flap - you don't want to compromise the blood supply through cautery!
- Use stay sutures to manipulate skin flap to prevent crushing injury to flap edges.
- The flap base (attached pedicle) should be slightly wider than the tip to ensure blood supply.
- Consider placing a drain, whether to bandage, how to prevent self-trauma, ensuring sufficient pain relief, and aftercare.
Advancement flaps advantages and disadvantages
Advancement flaps are relatively simple to design and create, and they carry the cutaneous arteries with them. This reasonable blood supply means they are able to be placed over less-than-ideal recipient beds (eg those without their own blood supply) as long as they're clean and healthy. Unlike distant donor sites like pouch flaps, the donor site is able to be closed during the same surgery. However, advancement flaps can only be used in areas where the skin is sufficiently stretchy. They also cause tension and aren't suitable in areas where tension could interrupt normal function (eg eyelids).